Why Cedar Shake Roof Care Matters for Your Home
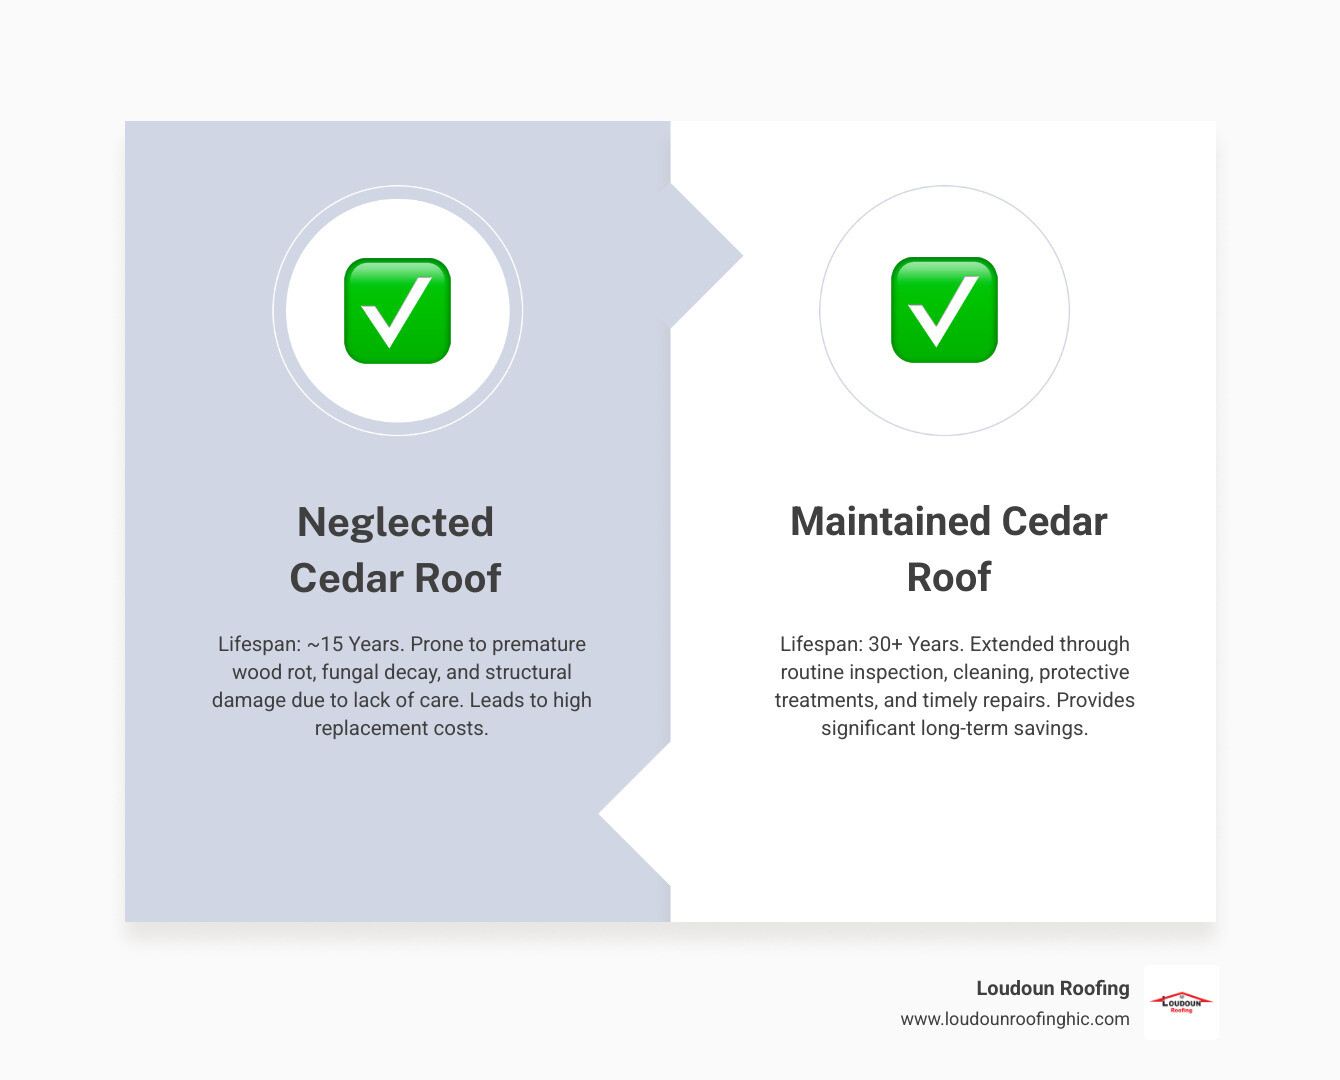
Cedar shake roof care is the difference between a roof that lasts 15 years and one that protects your home for 30 years or more. To achieve this longevity, your roof requires routine inspection, cleaning, and timely repairs from a trusted Northern Virginia roofing company that understands this unique material. Proactive maintenance can double or even triple your cedar roof’s remaining service life—saving you thousands of dollars in premature replacement costs.
Essential Cedar Shake Roof Care Tasks:
- Clean debris monthly (leaves, needles, branches) to prevent moisture buildup
- Trim overhanging trees to improve drying time and reduce fire hazards
- Apply protective treatments every 1-3 years (water repellents, UV inhibitors, fungicides)
- Inspect professionally twice per year (spring and fall) and after severe weather
- Clean gutters regularly to prevent water backup onto the roof
- Address damage immediately (cracked, curled, or missing shakes)
- Remove moss, algae, and mold promptly using safe cleaning solutions
A cedar shake roof is a significant investment that adds beauty and value to your home. But cedar is a natural material that requires specific care to resist moisture, UV radiation, and biological growth. Without proper maintenance, your roof can develop wood rot, fungal decay, and structural damage in as little as 15 years. With proactive care, that same roof can last 30 years or more.
The cost of neglect is high. Replacing a 3,000-square-foot cedar shake roof can cost between $18,000 and $20,000, while routine maintenance—including professional cleaning at $0.21 to $0.34 per square foot and periodic treatments—costs a fraction of that amount. Regular repairs average around $750 to $1,150, far less than a full replacement.
I’m Esteban Marin, owner and president of Loudoun Roofing & Home Improvement, and since 2001, I’ve specialized in cedar shake roof care and maintenance for homeowners across Northern Virginia. My team and I have helped hundreds of clients extend their cedar roofs’ lifespans through expert inspections, proper cleaning techniques, and carefully selected treatments that protect against our region’s unique climate challenges.

Understanding Your Cedar Roof: Key Factors in Longevity
When you choose a cedar roof for your home, you’re investing in natural beauty that can last decades—but only if you understand what you’re working with. Cedar roofs come in two main forms: shakes and shingles. While these terms are often used interchangeably, they’re actually quite different. Wood shakes are thicker and typically hand-split or split and then resawn, creating that rustic, textured look many homeowners love. Wood shingles, on the other hand, are sawn on both sides, resulting in a thinner, smoother, and more uniform appearance. Both types can serve you well with proper roofing maintenance, but they each have distinct characteristics that affect their longevity.
The gold standard for roofing is Western Red Cedar, and there’s a good reason it’s been the go-to choice for centuries. This wood species offers exceptional durability, natural insulation properties, and that warm, inviting aesthetic that homeowners cherish. What really sets Western Red Cedar apart is its heartwood extractives—natural compounds like thujaplicins and phenolic substances that act as nature’s own preservatives. These compounds give cedar its natural resistance to moisture, fungi, and insects without any chemical treatment.
But here’s the catch: those protective extractives don’t last forever. Constant exposure to rain, snow, and sun gradually leaches them out of the wood, slowly diminishing cedar’s natural defenses. This is where proactive cedar shake roof care becomes absolutely critical.
The primary threats to your cedar roof’s longevity are moisture retention, UV degradation, and fungal growth. Here in Northern Virginia, we experience the full force of all three. Our climate throws everything at your roof—humid summers with afternoon thunderstorms, abundant rainfall in spring and fall, and freezing winters with those brutal freeze-thaw cycles that can wreak havoc on wood.
This combination of high humidity and temperature swings creates the perfect storm for accelerated wood degradation. When your roof repeatedly gets soaked and then dries out, the wood expands and contracts, creating physical stresses that manifest as cracks, splits, and that telltale warping or cupping of individual shakes. The more extreme these cycles, the faster your roof ages.
Understanding these fundamental factors is the foundation of effective cedar shake roof care. For those who want to dive deeper into the science behind wood roofing, the Oregon State University Extension Service offers an excellent resource: The Care and Maintenance of Wood Shingle and Shake Roofs.
Why Cedar Roofs Degrade
Let’s be honest: even with all its natural advantages, cedar isn’t invincible. The number one enemy of your cedar roof is moisture. When wood’s moisture content consistently stays above 20%, you’re rolling out the welcome mat for wood-destroying fungi. This leads to wood rot, a serious condition that doesn’t just affect appearance—it compromises the structural integrity of your entire roof system.
Fungi and algae growth do double duty in damaging your roof. They create unsightly dark streaks and patches that detract from your home’s curb appeal, but more importantly, they trap additional moisture against the wood surface. This creates a self-perpetuating cycle: more moisture feeds more growth, which holds more moisture, which accelerates decay.
The sun isn’t innocent in this process either. UV ray damage works differently than moisture but is equally destructive. Ultraviolet radiation causes photo-degradation, breaking down the lignin that binds wood cells together. This is why cedar roofs naturally turn that silver-gray color within a year or two of installation. While some homeowners find this weathered look charming, what’s actually happening is surface erosion. Over time, softer wood fibers wear away faster than harder ones, creating a rough “washboard” texture.
The constant wetting and drying cycles we mentioned earlier cause physical damage that’s easy to spot. Cracking and splitting appear as the wood fibers separate under stress. Warping and cupping happen when one side of a shake absorbs more moisture than the other, causing it to bend or curl. These deformities don’t just look bad—they create gaps where water can penetrate beneath the roofing layer.
Debris accumulation might seem like a minor nuisance, but it’s actually a major contributor to premature roof failure. Leaves, pine needles, twigs, and branches create dams that prevent water from flowing off your roof properly. These debris piles stay wet long after the rain stops, keeping the wood underneath perpetually damp.
Finally, once your cedar starts to rot, you’ve got an open invitation for pest infestations. Termites, carpenter ants, and other wood-destroying insects are drawn to compromised wood like moths to a flame. These pests can extend their damage beyond your roof and into your home’s structural framing, turning a roofing problem into a much more expensive structural issue.
The Role of Moss, Algae, and Lichens
If you’ve noticed green patches, dark streaks, or crusty growths on your cedar roof, don’t dismiss them as merely cosmetic issues. Moss, algae, and lichens are far more than eyesores—they’re active participants in your roof’s deterioration.
These organisms thrive in the moist, shaded conditions that are common throughout Northern Virginia, especially if you have large trees overhanging your roof. They’re opportunistic colonizers that set up camp wherever they can find consistent dampness and shade.
Their most damaging role is as moisture traps. Moss and lichen act like tiny sponges, absorbing water and holding it against your cedar shakes for hours or even days after it rains. This prolonged dampness prevents the wood from drying out properly, keeping its moisture content above that critical 20% threshold where decay fungi can flourish. It’s like wrapping your roof in a perpetually damp blanket.
These growths also excel at debris accumulation. As moss colonies expand, they trap soil, fallen leaves, and organic matter. This creates a mini-ecosystem on your roof that retains even more moisture and provides nutrients for additional biological growth. You can see how quickly this becomes a self-reinforcing problem.
The physical presence of thick moss hinders water shedding. Instead of rainwater flowing smoothly down your roof and into the gutters, it gets dammed up by moss patches. This can cause water to back up and seep under the shakes, where it causes hidden damage and leaks that you won’t find until they’ve already done significant harm. This process is accelerating decay from multiple angles simultaneously.
The constant moisture and decaying organic matter also create a habitat for insects. Wood-boring beetles, carpenter ants, and other pests find these damp, sheltered areas ideal for nesting and feeding. So now you’re dealing with both biological and insect damage at the same time.
Beyond all the structural concerns, let’s not forget the aesthetic damage. A vibrant green carpet of moss or those dark streaks of algae can transform your beautiful cedar roof from a stunning architectural feature into an eyesore. If you’re considering selling your home, this kind of visible deterioration can significantly impact your curb appeal and property value.
Signs of biological growth are usually easy to spot: green patches (moss), black or dark green streaks (algae), crusty white or gray growths (lichens), or any areas that stay darker and damper than the rest of your roof. Recognizing these signs early and addressing them promptly is a crucial component of comprehensive cedar shake roof care. The sooner you tackle these issues, the less damage they’ll cause and the longer your roof will last.
The Essential Cedar Shake Roof Care Routine
Think of your cedar roof like a classic car—it needs regular attention to stay in top condition. The good news? Most of what your roof needs isn’t complicated. It’s just a matter of staying on top of a few essential tasks throughout the year. Regular, proactive maintenance is hands down the most cost-effective way to maximize your roof’s lifespan and sidestep those expensive emergency repairs that nobody wants to deal with.
We often tell our clients that a little bit of consistent effort goes a long way. In fact, the difference between a cedar roof that lasts 15 years and one that protects your home for 30 years often comes down to these fundamental, recurring tasks. When you partner with experienced roofing professionals who understand cedar shake roof care, you’re making an investment that pays dividends for decades.
Debris and Vegetation Management
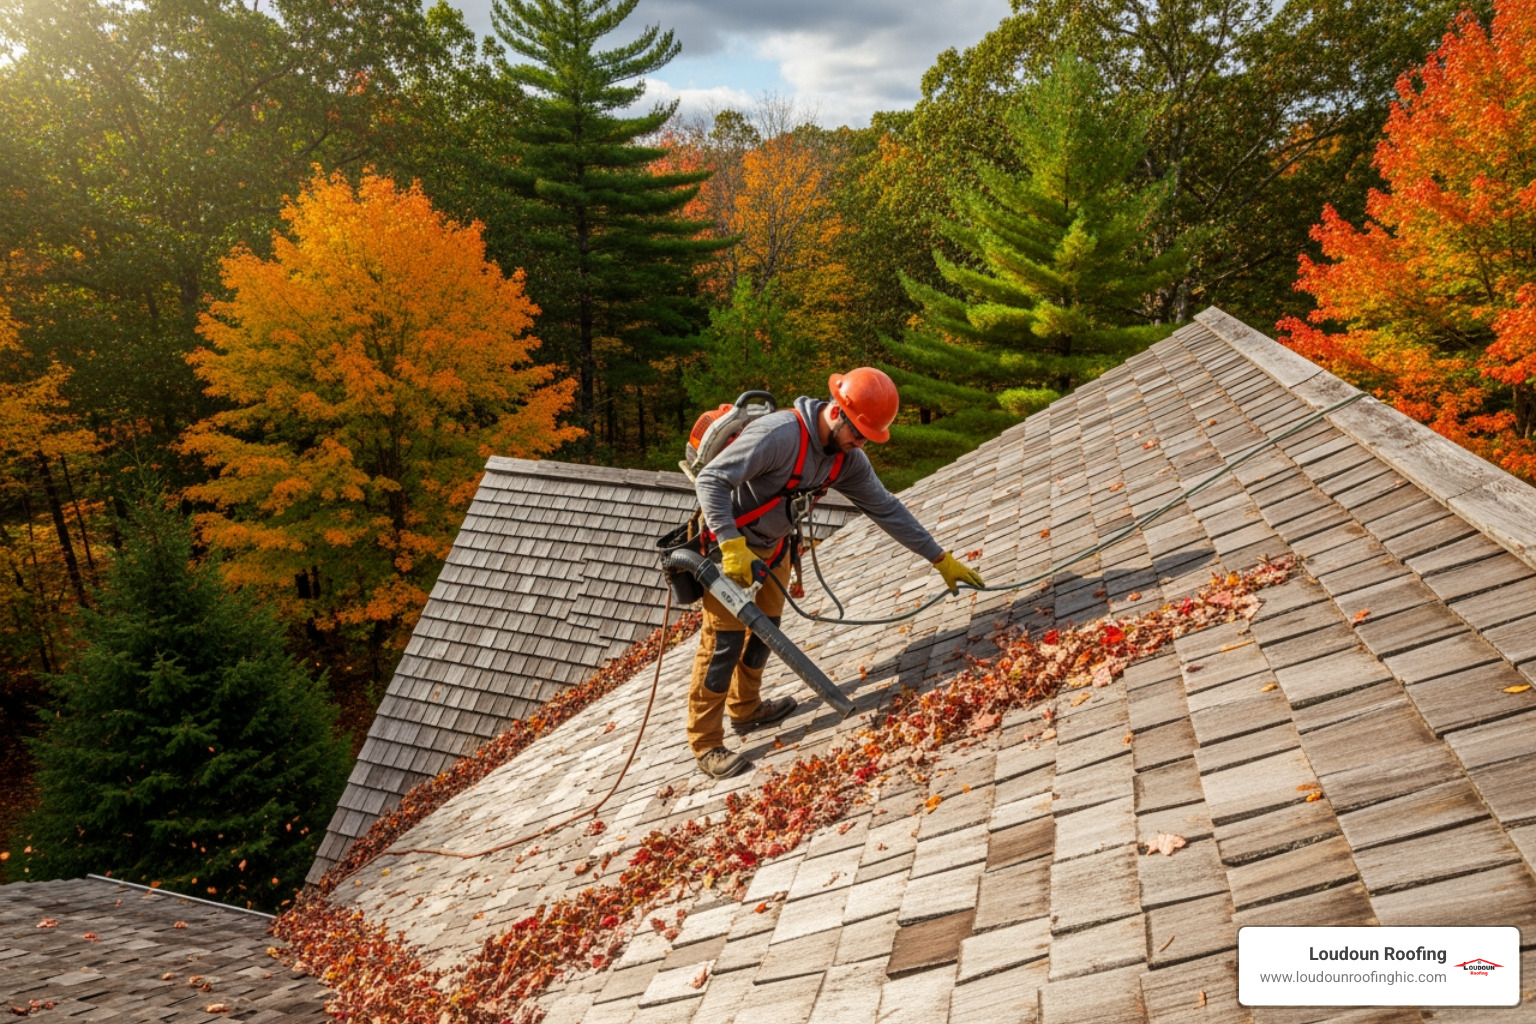
Here’s something that surprises many homeowners: one of the simplest yet most impactful aspects of cedar shake roof care is just keeping it clean. We’re talking about leaf litter, pine needles, twigs, and branches—basically anything that doesn’t belong up there. These seemingly innocent piles are actually moisture traps that work against your roof day and night.
When debris accumulates between and on top of your cedar shakes, it prevents proper airflow and keeps the wood from drying out after rain or morning dew. Think of it like leaving a wet towel in a pile on the bathroom floor versus hanging it up to dry. That trapped moisture is exactly what fungal growth and wood rot need to take hold. By regularly removing these accumulations, you’re allowing your shakes to breathe and dry naturally, which is absolutely essential for long-term durability.

A critical part of debris management that often gets overlooked is trimming overhanging trees. Those beautiful oak or maple branches extending over your roofline might provide lovely shade, but they’re also continuously dropping leaves, acorns, and other organic material onto your roof. Worse, they create a perpetually shaded, damp environment that moss and algae absolutely love. We typically recommend keeping tree branches at least three to four feet away from your roofline. This simple step not only reduces debris but also improves air circulation and sunlight exposure, both of which help your roof dry faster after rain.
There’s another benefit to trimming back those branches: fire hazard reduction. Dry leaves and low-hanging limbs can act as fuel for airborne embers during wildfires or even from nearby structure fires. In our area, this might not be the first thing that comes to mind, but it’s still an important consideration for comprehensive home protection.
Now let’s talk about something that affects your entire home, not just your roof: gutter cleaning. Clogged gutters and downspouts are a cedar roof’s worst enemy. When gutters overflow, that water has nowhere to go but back onto your roof or cascading down your home’s exterior walls. This constant exposure to standing water quickly degrades the lower edges of your cedar shakes, creating perfect conditions for wood rot to develop.
In winter, clogged gutters contribute to ice dam formation. When water backs up and freezes, it creates a dam that forces melting snow back under your roofing material, potentially causing leaks and water damage inside your home. The same backup can damage your fascia and soffit, leading to even more costly repairs. We recommend cleaning gutters at least twice yearly—once in late spring and again in fall—and always after major storms when debris accumulation is heaviest.
How to Properly Clean a Cedar Shake Roof
Once you’ve cleared away the debris, the next step in effective cedar shake roof care is addressing the surface itself—tackling any mold, moss, algae, or lichen that’s taken hold. But here’s where many well-intentioned homeowners make a critical mistake: they get too aggressive. Cedar is a natural, relatively soft wood, and the wrong cleaning approach can actually shorten your roof’s lifespan rather than extend it.
The golden rule for cleaning cedar roofs is this: start gentle and only escalate if necessary. For general dirt, dust, and light organic staining, a soft-bristle brush, a leaf blower, or even a garden hose with gentle pressure can work wonders. Always work from the ridge (top) of the roof down toward the eaves to avoid forcing water underneath the shakes, which could lead to leaks or trapped moisture.
When it comes to pressure washing, we need to have an honest conversation. High-pressure power washers are tempting because they work fast, but they’re also dangerous for cedar roofs. Excessive pressure—anything above 1,000 to 1,500 psi—can gouge the wood fibers, strip away the softer parts of the cedar, and create a rough, damaged surface that actually degrades faster. We’ve seen roofs aged by years in a single afternoon of overzealous pressure washing.
If pressure washing is truly necessary for stubborn biological growth, it should only be done by a professional who understands the nuances. The right approach involves the lowest possible pressure settings, wide-angle nozzles, maintaining an 8 to 12-inch distance from the surface, and always working from top to bottom. But honestly, for most routine cleaning, gentler methods are both safer and more effective.
For cleaning solutions, we rely on proven formulas that effectively remove biological growth without damaging the wood. A common and effective mixture is one part household bleach (5% sodium hypochlorite) to five parts water, with a tablespoon or two of powdered laundry detergent to help it cling to vertical surfaces. For more persistent stains or heavy growth, you might increase the concentration to one part bleach to three parts water. The USDA Forest Products Laboratory offers excellent recommendations on cleaning solutions for wood products, which we frequently reference in our work.
An increasingly popular alternative is oxygen bleach (sodium percarbonate), which is gentler on the environment and breaks down into oxygen and soda ash. It’s less harsh than chlorine bleach but still effective at removing biological growth, making it an excellent choice for homeowners concerned about their landscaping and local waterways.
Before applying any cleaning solution to your entire roof, always test it on a small, inconspicuous area first. Different cedar batches can react differently, and you want to be absolutely certain there won’t be unexpected discoloration. Once you’ve confirmed it’s safe, apply the solution and let it dwell for 15 to 30 minutes—this gives it time to break down the organic growth. Then rinse the roof thoroughly with a garden hose, making sure every trace of the cleaning solution is washed away. Pro tip: wet down surrounding vegetation before you start, keep it wet during the process, and rinse it again afterward to protect your plants from any runoff.
Here’s what you should never use on your cedar roof: harsh chemicals, unfortified linseed oil, diesel fuel, or crankcase oil. These substances can damage the wood structure, trap moisture inside the fibers, create a fire hazard, or all of the above. Some old-timers might recommend these approaches, but modern research has definitively shown they do more harm than good. When it comes to cedar shake roof care, the goal is always to work with the wood’s natural properties, not against them.
Rinsing thoroughly is the final critical step that many people shortcut. Any cleaning solution left on the wood can continue to work—sometimes breaking down the wood fibers themselves rather than just the biological growth. A complete, thorough rinse ensures your roof is clean, protected, and ready for the next step in your maintenance routine.
Protective Treatments and Common Repairs
After cleaning, applying a protective treatment is the next critical step in comprehensive cedar shake roof care. These treatments replenish the wood’s natural defenses and protect it from the elements, while prompt repairs prevent small issues from becoming major structural problems. Think of it as giving your roof a much-needed shield against the harsh realities of our Northern Virginia weather.
Choosing the Right Protective Treatment
Cedar shakes naturally lose their protective extractives over time, making them vulnerable. Protective treatments are designed to restore some of this defense. We’re looking for products that offer water repellency, UV inhibition, and/or act as EPA-registered wood preservatives (fungicides/algaecides).
| Treatment Type | Primary Benefit | What it Does |
|---|---|---|
| Water Repellents | Prevents moisture absorption | Creates a hydrophobic barrier that causes water to bead up and run off, keeping the wood dry and preventing the expansion/contraction cycle. |
| UV Inhibitors | Protects against sun damage | Contains pigments or chemicals that absorb or reflect UV radiation, preventing the breakdown of wood lignin that leads to surface erosion. |
| Wood Preservatives | Stops biological growth | Contains EPA-registered fungicides and algaecides that kill or inhibit the growth of moss, algae, and decay fungi, protecting the wood’s structural integrity. |
When selecting a treatment, it’s crucial to choose a product that allows the wood to breathe. Avoid film-forming sealants, varnishes, or waterproofers that trap moisture inside the shakes, as this can accelerate rot from within. The best treatments are penetrating, oil-based formulas that soak into the wood rather than sitting on the surface. For more detailed guidance, the [Cedar Shake & Shingle Bureau](https://cedarbureau](https://cedarbureau.org/cms-assets/cms-assets/documents/FPL-Shake%20%26%20Shingle%20Roof%20Document%20USDA%2010-25-11%20Maintenance%20-%20Finishing.pdf) provides excellent technical information. Treatments should typically be reapplied every 1 to 3 years, depending on the product and local climate conditions.
Spotting and Repairing Common Damage
Even with the best care, individual shakes can eventually fail. Regularly inspecting your roof for signs of damage is key to catching problems early. Look for:
- Cracks and Splits: Caused by weathering and stress, these can allow water to penetrate the underlayment.
- Curling or Cupping: This happens when shakes dry unevenly, lifting the edges and creating entry points for wind-driven rain.
- Missing Shakes: High winds can dislodge shakes, leaving a gap in your roof’s defense.
- Signs of Wood Rot: Soft, spongy, or crumbling wood indicates advanced decay that needs immediate attention.
Addressing these issues promptly is far more cost-effective than waiting for a major leak. While a full replacement is a significant expense, targeted cedar roof repairs can often be completed for a fraction of the cost, extending the life of the entire roof system. If you spot any of these warning signs, it’s time to call a professional.


